A hive at the bottom of the garden is a genuinely lovely idea. Fresh honey, better pollination, and a reason to sit outside watching the comings and goings of a few thousand very busy insects. But a colony is livestock, not garden furniture. Before you order a flat-pack hive and put down a deposit on a nucleus, it is worth working through the duller questions: are you allowed to keep bees where you live, does your garden actually suit them, and will your neighbours be pleased or quietly furious? None of it is difficult, but the order matters.
Check the rules before you buy a thing
You do not need a licence to keep honeybees in the UK, and for most gardens you will not need planning permission either. That does not mean there are no rules at all.
Start with the paperwork that already applies to your property. If you rent, your tenancy agreement may say nothing about bees, or it may prohibit animals and livestock entirely. If you own a leasehold flat or maisonette with a shared garden, the lease is the document that counts. Restrictive covenants on the deeds of some newer properties can also limit what you keep on the land. Read them, and if the wording is ambiguous, ask the landlord, the freeholder or a solicitor rather than assuming.
Allotment holders have an extra layer: many sites ban hives outright, while others allow them with the committee's permission and a set number per plot. Speak to the site secretary first.
Then register your apiary with the National Bee Unit's BeeBase system. Registration is voluntary, but it is strongly encouraged, and it is how you receive disease alerts for your area. If you ever suspect a notifiable pest or disease, such as foulbrood or small hive beetle, you are legally obliged to report it. Asian hornet sightings should go to the Asian Hornet Watch app.
If any of this starts to feel like a legal maze, take proper advice. A ten-minute conversation with your landlord or a solicitor is cheaper than dismantling a hive you were never allowed to build.
Choosing where the hive goes
Bees are forgiving, but they do have preferences. A spot that gets sun for most of the day will keep the colony warmer and get them flying earlier. Shelter from the prevailing wind makes life easier for you and for them. Level, well-drained ground saves you wrestling with a stand that slowly sinks.
The single most useful trick is to think about flight paths. A hive entrance facing open space sends bees straight out at head height. Put the entrance behind a hedge, fence or shrub, and the bees rise sharply as they leave, carrying them up and over rather than through your neighbour's patio. Point entrances away from doors, washing lines, garden tables and the route children take to the trampoline.
Water matters more than people expect. A colony needs a reliable supply, and if you do not provide one they will find the nearest pond, water butt or, worse, a neighbour's swimming pool. A shallow tray with pebbles or a cork floating in a water butt solves the problem cheaply.
Leave yourself working room. You need to stand comfortably behind or beside the hive, and you need somewhere to put a box down mid-inspection. A shed or a simple screen behind the hive hides your activity from view and gives you somewhere to shelter when the weather turns.
What you actually need to start
You can spend a fortune on beekeeping. You can also start modestly and add as you go. The essentials:
- A hive in a common format such as National or Langstroth, plus a stand. Pick one format and stick to it, because parts from different systems rarely fit together.
- Frames and foundation, enough for the brood box and at least one super.
- A smoker and something to light it with. A hive tool, and a bee brush if you like one.
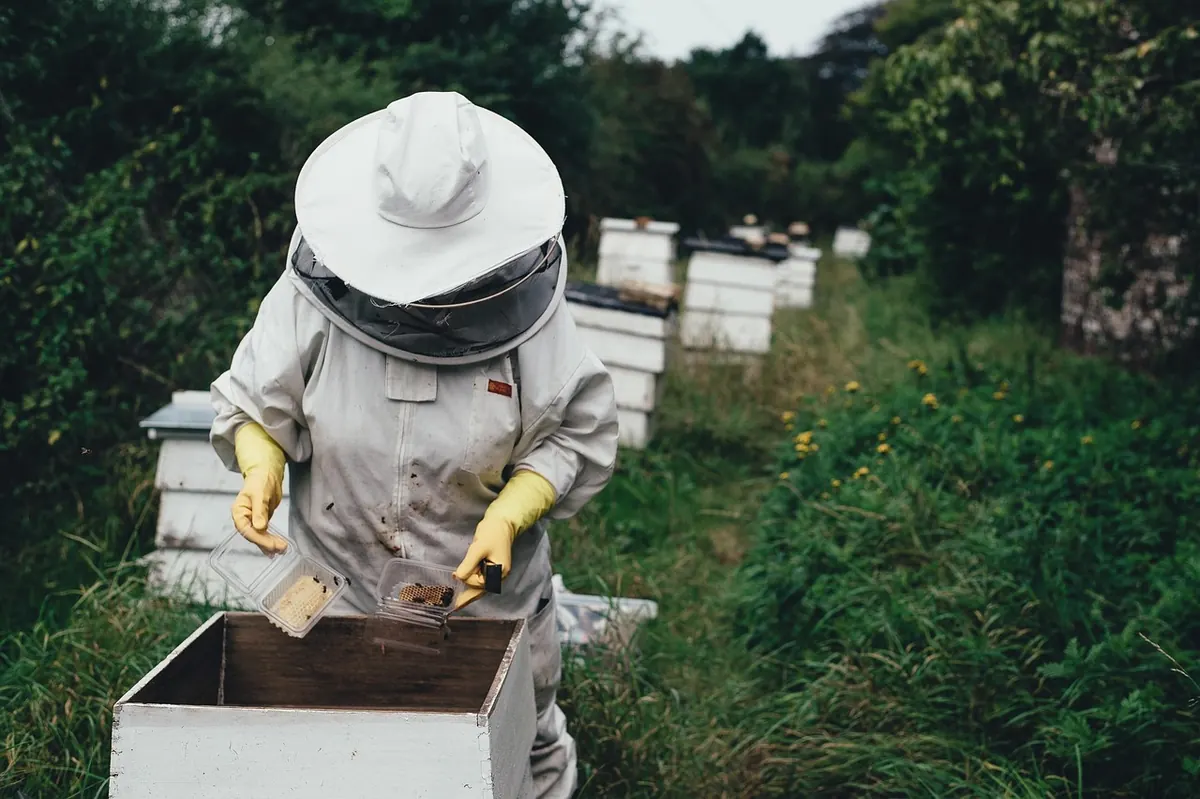
- Protective clothing that actually fits: a suit, gloves and boots. A gap at the wrist is where stings happen.
- A feeder for syrup in spring and autumn.
- A queen excluder and spare supers for the honey crop.
- A water source, as above.
- Records: a notebook or an app, so you know what you did and when.
Extraction kit is the one thing most beginners sensibly avoid buying. Extractors are costly and used for a few days a year, and most local associations hire them out to members. Borrow before you buy.
The real cost is time as much as money
Set-up costs are real: hive, clothing, tools and a colony of bees add up to a few hundred pounds, and that is before supers, jars and replacements. Buy quality on the items you touch every week, and go basic on the rest.
The commitment is the part that catches people out. From spring to late summer, expect to inspect each hive roughly once a week, and more often during swarming season in May and June. Inspections take maybe an hour by the time you have suited up and tidied away, but they cannot be skipped when the bees are preparing to swarm. Winter is quieter, though varroa monitoring and treatment still need doing. Holidays need cover, because a colony left alone in late spring may swarm and leave you with a neighbour ringing the council.
Budgets and rules around selling honey vary. If you plan to sell rather than give it away, food hygiene and labelling requirements apply, so check with your local council's environmental health team before you start filling jars.
Neighbours: the part most beginners underestimate
Talk to your neighbours before the bees arrive, not after the first swarm lands on their shed. Most people are curious rather than hostile, and a short, honest conversation does more good than any fence. Explain what a swarm is and that it is not an attack, that bees need water, and roughly where the flight path will be.
A jar of honey in late summer is traditional for good reason. So is accepting that not everyone will be relaxed about it. If a neighbour has a known allergy to bee stings, or a genuine phobia, take it seriously and consider whether your garden is the right site at all. Stings can be a medical emergency for some people; if that applies to anyone nearby, seek proper medical advice and think carefully before going ahead.
Learn the craft before the bees arrive
Join your local beekeeping association first. Membership usually includes a beginner course, a mentor, access to hired equipment and public liability insurance, which matters more than most newcomers realise. Winter courses are designed to finish just as the season starts.
Use the time before your colony arrives to learn what healthy brood looks like, how to spot the signs of disease, and how to handle frames calmly. Ask to shadow an experienced beekeeper through a full season. Watching someone else open a hive teaches you more in an afternoon than a month of reading.
Keep two hives if you can. One colony gives you nothing to compare against, and no spare brood to rescue a queenless hive.
Your first five steps
- Check your tenancy, lease or deeds, and speak to your neighbours.
- Join your local association and book a beginner course.
- Walk the garden at different times of day and pick two possible hive sites.
- Order your kit over winter; buy your bees in spring from a reputable local breeder.
- Register on BeeBase and keep notes from day one.
Do those five things and the rest becomes ordinary beekeeping: weekly inspections, swarm checks, a little feeding, and honey in September. Start small, ask questions, and give yourself permission to get things wrong in your first year. Every beekeeper you meet did exactly the same.
Photo: Pexels / Pixabay